Making the CRT Screen
So much of what I do in editorial cartooning is done on the board, using pencils, pens and ink. But, for my other web illustration and graphic work, I rely almost exclusively on computer-assisted methods. After all, these mechanisms are just tools, like pencils and pens. Also, I feel compelled to mention at this point that I am not going to get into every detail here. This is not an Adobe Photoshop® tutorial. I want to share the creative process in this venue, not necessarily the technical.
Okay... so here we go...
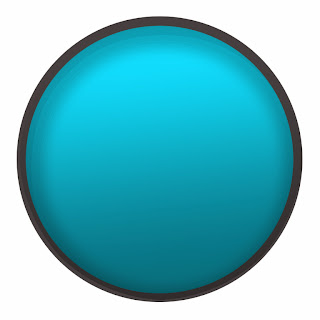
I began, simply enough [Fig. v], with a circle. I wanted to make it large enough to make it easy to work with, and to be useful as a CRT.
 |
| Fig. v |
This device was inspired by our family's first television set back in the early 1950s. We were the only family in the neighborhood without a television. I was about four years old when our family got a present from my mom's sister in Philadelphia. A T.V.! The screen (tube) was round and only about 8 or 10 inches in diameter. It took a few minutes for the vacuum tubes inside the unit to warm up. Eventually, the picture appeared. Black and white. Often, it would flicker and the horizontal trails of the electron gun exciting the phosphorous coating on the inside of the glass were evident. At last, we were connected.
Next [Fig. vi], I add color.
 |
| Fig. vi |
I gave it some shading along the top [Fig. vii] and curved shading around the bottom to give it some form, a feeling of roundness. Already, it's beginning to take shape.
 |
| Fig. vii |
 |
| Fig. viii |
striking reflections. Again, this setting is a vintage laboratory. So, the most dominant reflection is a large paned window (Fig. ix).
 |
| Fig. ix |
To accentuate the roundness and reflective nature of the glass, I added another reflection on the top [Fig. x], a sort of oval shaped form that I filled with graduated white. Note, that I made the background inside the tube darker, to reduce the glow of the screen. I want it to appear off when inactive.
 |
| Fig. x |
When turned on, it will need an image. So [Fig. xi], I added one from one of the stories.
 |
| Fig. xi |
At this point,it could be a framed photo hanging on a wall. But, this is a video, so I added some filters to give it those familiar horizontal lines [Fig.xii] from the cathode ray's electron gun, dancing from side-to-side across the screen. And, I decided to make it more greenish. I don't really know why. Influenced by the Emerald City, perhaps. In the final version, however, I opted to go more toward the blue side of the spectrum. I may go back to green, though. It's a crisp color and gives a bit more contrast to the CRT in its stand-by mode (blue). I'll wait awhile, though, to let the webmaster's nerves heal.
 |
| Fig. xii |
The control panel (below) has the CRT in place and incorporates the same process for various buttons and meters.


No comments:
Post a Comment
Editorial cartoons are designed to provoke thought and encourage civil discourse, so comments are welcome. Comments that are abusive or contain vulgarities will not be posted. Thank you for your cooperation.